


The following article is the first in a series of articles that will help you build a DAO on the Flow network using Cadence.
Increment is a fundamental DeFi infrastructure in the Flow ecosystem, one that serves as a liquidity engine for fungible tokens, to efficiently release and leverage more capital, paving the way for further decentralized financial applications and innovations on the Flow blockchain.
In this article, I will explain, step by step, how to create a Swap Pool for your token on the Increment.fi platform, which is an important step in launching your own IDO.
To follow along with this tutorial, you’ll need the following things:
The Flow Command Line Interface (Flow CLI)
Deploying our Fungible Token
For our first step, we’re going to deploy our own governance token that we implemented in this article and includes the latest MetadataViews implementation, and if you don’t know how to deploy Cadence smart contracts, you can learn it from this article.

Governance Token deployed to Testnet!
The Swap
Now, we head over the testnet version of Increment.fi in order to list our token on this DEX. Let us take a look at the swap feature. Here the user can choose which tokens they want to trade. The input token equals the token you currently own and want to trade for another token (output token).
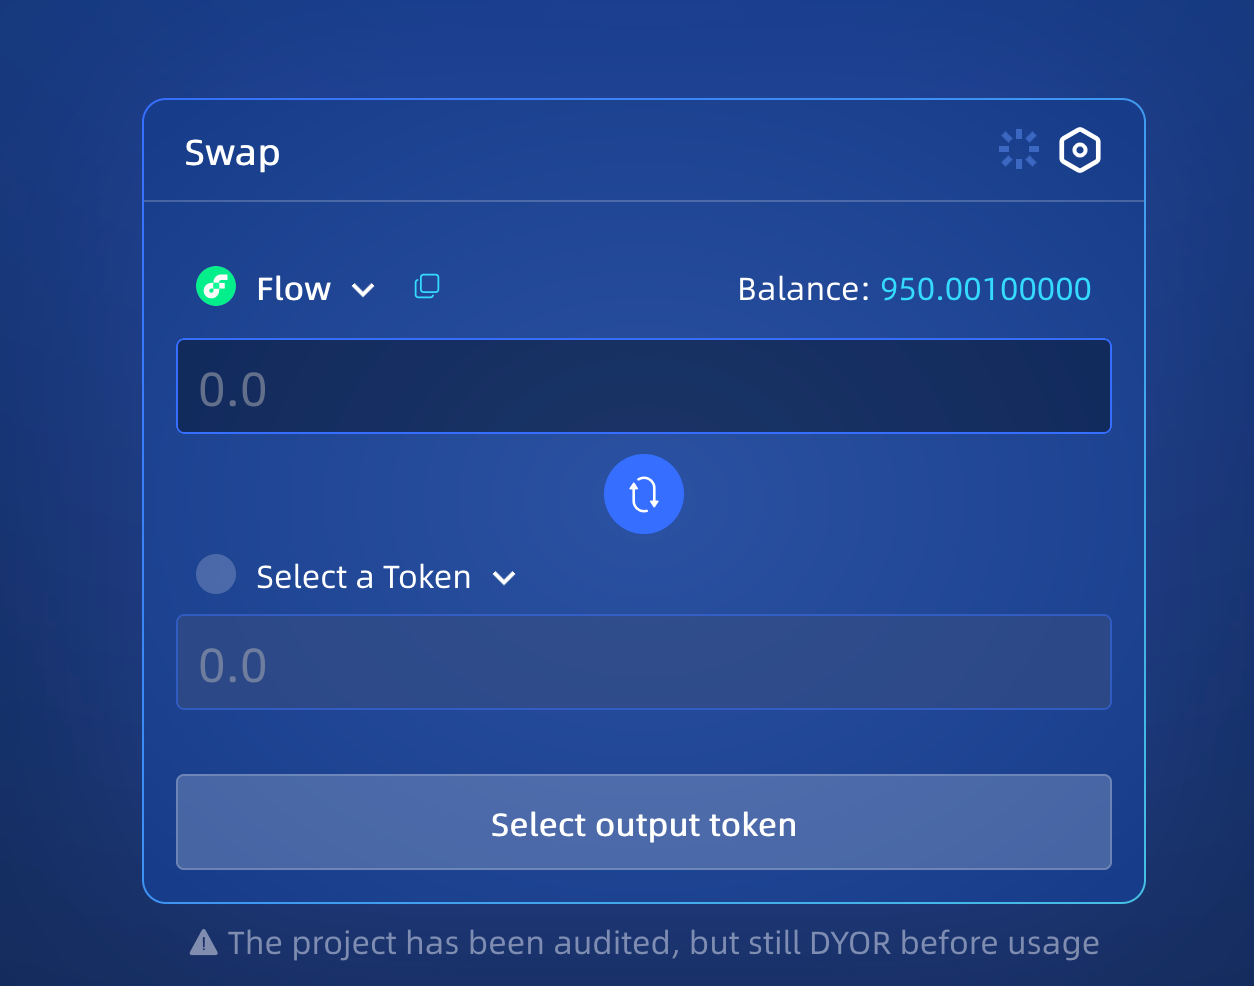
Swap interface
The increment.fi swap supports multihops/router, which means that the swap will make sure that you end up with the maximum amount possible for your given output token. Now we just the token contract address, just paste it into the search bar and click “Search More”. Clicking the “Import” button to import it into the default token list and everything is set up.

In most cases clicking the “Import” button would automatically parse the address and import the given token into the drop-down menu. In case it fails for whatever reason (e.g. parser failure, non-standard token contract implementation, etc.), it can still be manually imported by clicking “Import Custom Token” menu.

If we look for our token now, it will be there.

BlockVersity token is officially on Increment!
And there we go! We can now see our token on the Swap panel, but it has no pairs and no liquidity, which makes our token swap a bit useless.
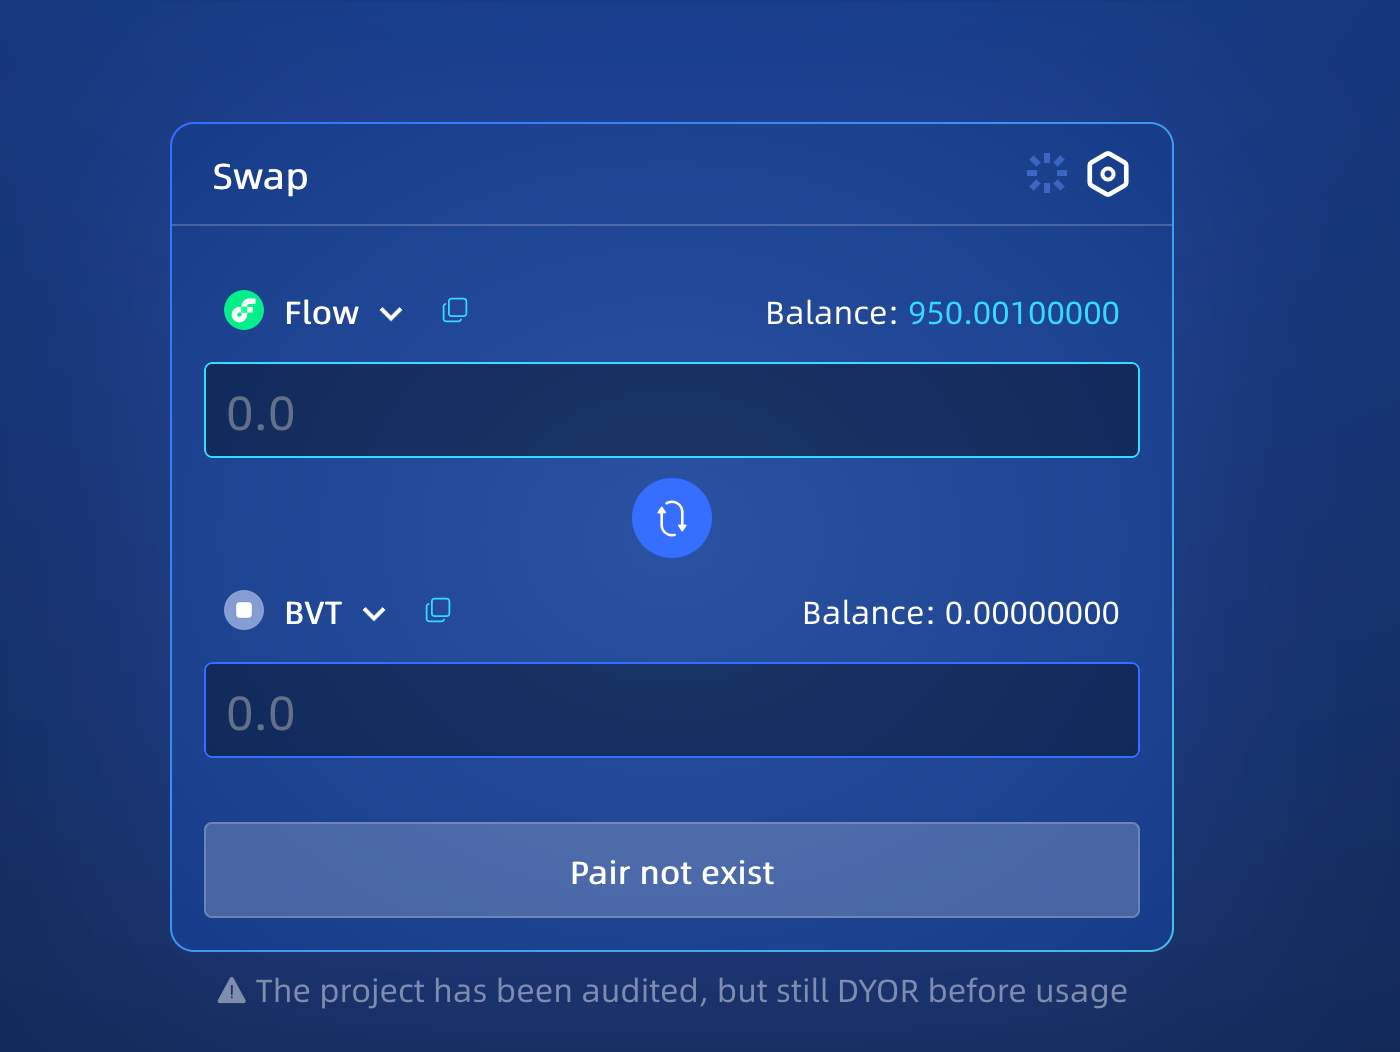
Pair doesn’t exist
Liquidity Pools
Besides the swap, the user can decide to become a liquidity provider. This means that the user will add two different tokens into a liquidity pool and form a pair or add to an existing pair. The liquidity providers will receive a part of the transaction fees as a reward but take note that being a liquidity provider comes with the risk of impairment loss.
We’re going to click on the Swap drop-down menu and we’re going to select the “Create” option. As mentioned before, any user can create new trading pairs that don’t exist yet, for example:

I’ve created a FUSD/BVT pair
For liquidity pairs that already exist, the page will show that the pair already exists.
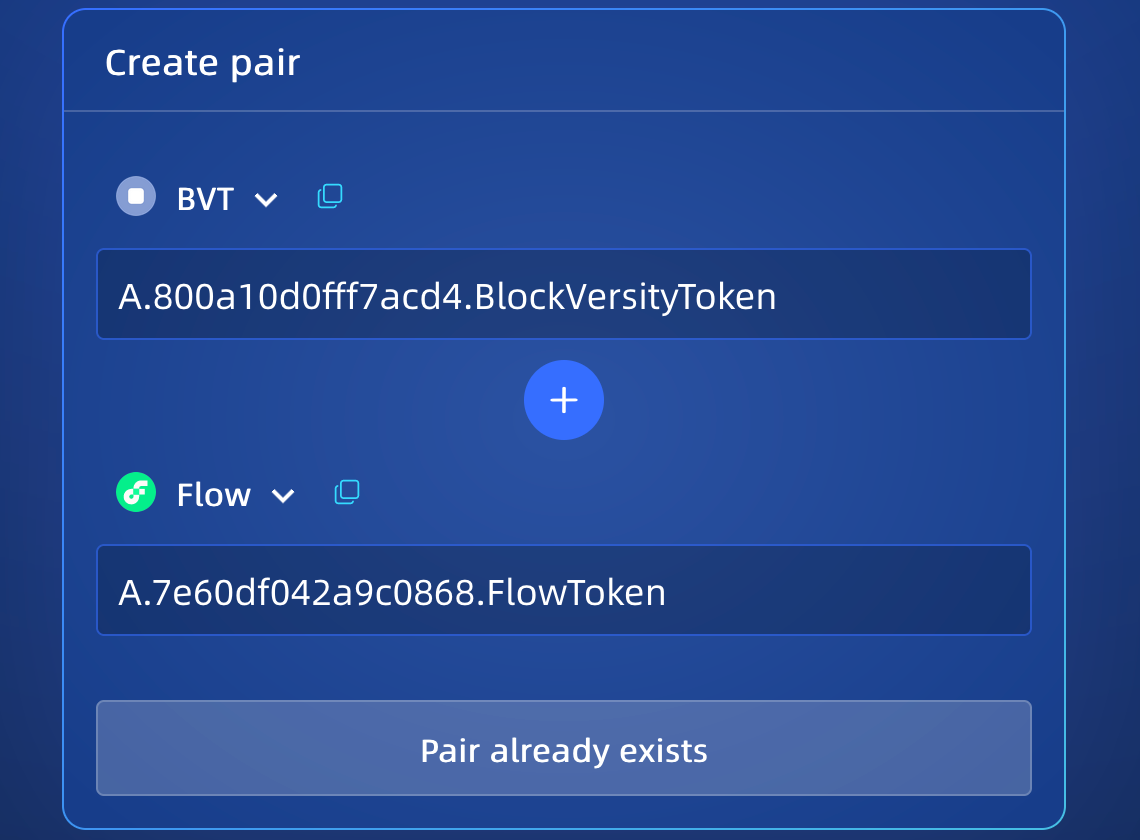
I had the BVT/Flow pair already setup
Adding to the Liquidity Pool
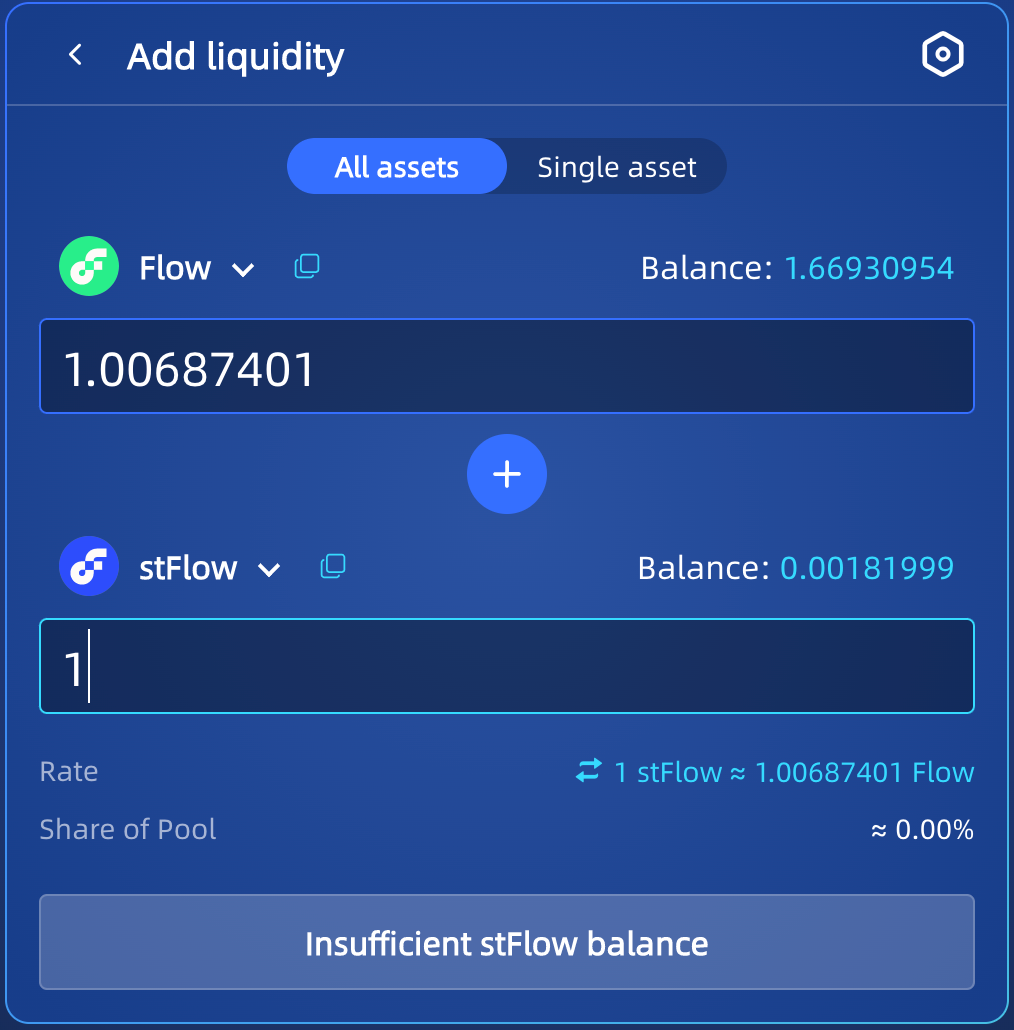
Once the pair is created, any user can add liquidity into the pool. The first liquidity provider is the one who sets the initial price of the pool. They are incentivized to deposit an equal value of both tokens into the pool.
Using the “Liquidity” option on the drop-down menu, we end up seeing this box where can choose to add liquidity to our pool.
And there you have it! In the next article, I’ll explain how to integrate these features into your own dApp.